We use cookies to make your experience better. To comply with the new e-Privacy directive, we need to ask for your consent to set the cookies. Learn more.
How to Make a Gravity Bong: Step By Step Guide
Gravity Bongs! You must have heard about this smoking tool. Gravity bongs are also known as geebie, GB, geeb, bucket bong, ghetto bong and so much more. So, the next question running in your mind would be “how to make a gravity bong”. Let me inform you that almost all the OG potheads would surely have tried their hands on making one. So for all the newbies out there, get ready to be knocked.
We will be giving you step-by-step instructions on how to make a gravity bong along with the meaning, effectiveness, and supplies that you will be needing to understand that how a gravity bong works. C’mon, up on your feet now!
What is a Gravity Bong?
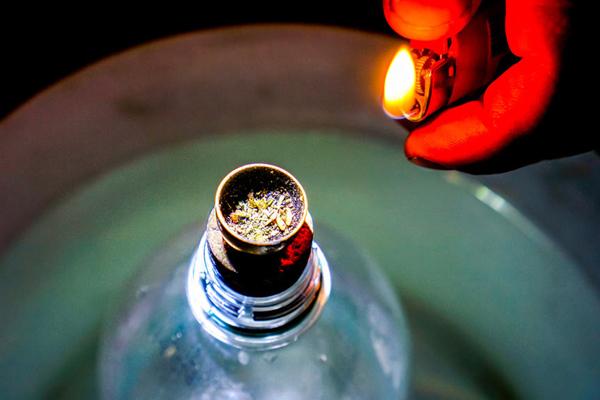
Gen Z or even us, millennials would tell you how important, useful, and discreet a gravity bong was….is. During the dark ages, oh! I mean when marijuana wasn't that big of a deal, gravity bongs used to be the ray of light, the silver lining, the light at the end of a tunnel, the quantum of solace! Sorry, got a little emotional there.
Homemade Gravity bongs are very easy to make and the best part is that it only needs a few supplies. Most of the things that you would need to make a gravity bong, would be present at your home. So you don’t have to worry about that. On top of it, you only need to take 5-10 minutes from your day to make one. What the hell, right?
| Also Read: Homemade Dab Guide: How to make Shatter? |
How a Gravity Bong Works?
You must be thinking that there must be some kind of catch. Thinking that it wouldn't be that effective or something like that. Well, let me clear that up for you that gravity bongs will make you really high.
How? Well, there is simple science behind this. A gravity bong is the type of tool that gives you concentrated pulls. When compared to joints and pipes, gravity bong hits way harder as their capacity is higher. You’re basically stuffing all the smoke from the whole bowl and that too in one go.
Running the disclaimer here. This bong is really for flower pros. Not everyone can handle it. So, if you’re looking for something that has high THC then follow this step-by-step guide on how to make a gravity bong.
Supplies Needed to Make a Gravity Bong
As mentioned before, you will be needing a few things to make this bong. So, gather these following things:
- 2 Plastic Bottles (big & small)
- Aluminium Foil
- Sharp Cutter
- Flower
- Toothpick/Poking Device
|Also Read: Stündenglass Glass Gravity Hookah - Worth it or not? |
How to Make a Gravity Bong?
For a beginner, it can be a little difficult and intimidating to make your first gravity bong. There are many folks out there that don’t know where to start from. So, for all those people out there, Olivastu is here to help. Go!
Step 1:
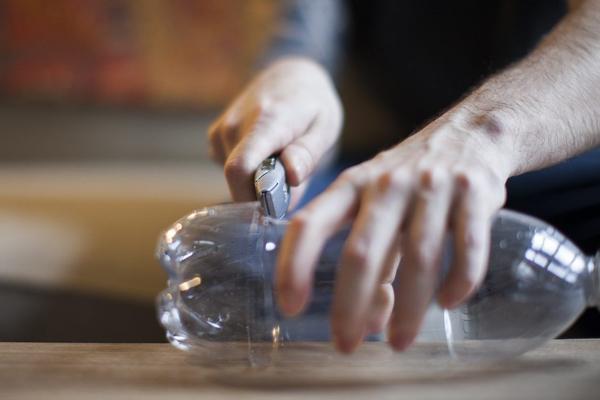
Your first step would be to cut the bottom part of the smaller-sized plastic bottle with the box cutter. The upper half would be used from this bottle.
Step 2:
Now, take the cap of the bottle and create a hole in it. Remember that this hole will play a big role as you will draw air from it. So do make it big enough for you to take a satisfying drag.
Step 3:
Get the alumnium foil and cut a square-sized shape of it. Take this square piece of aluminium and place your cap on it. Align it to the centre. Place your pinky finger in the middle and carefully wrap the foil around it. It will be inserted inside the hole of the bottle cap.
Step 4:
Insert a bit of the foil in the cap and wrap the rest around it. Carefully smoothen the edges around the cap and poke holes around the depression of the cap hole. The holes should be made in such a way that it doesn’t tear down the rest of the foil.
Step 5:
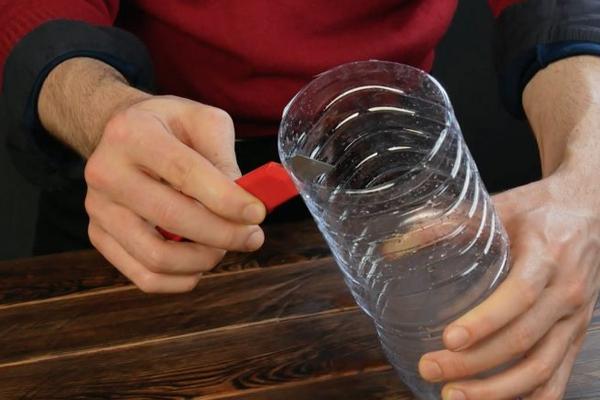
Take the big bottle and cut the bottom part of it. Remember that the remaining, bottom part of the bottle will work as your bowl. The bigger the bowl is, the harder hits you will get.
Step 6:
Take the foil-covered bottle cap and load the indentations with your fav cannabis. The load on the cap should not be messy.
Step 7:
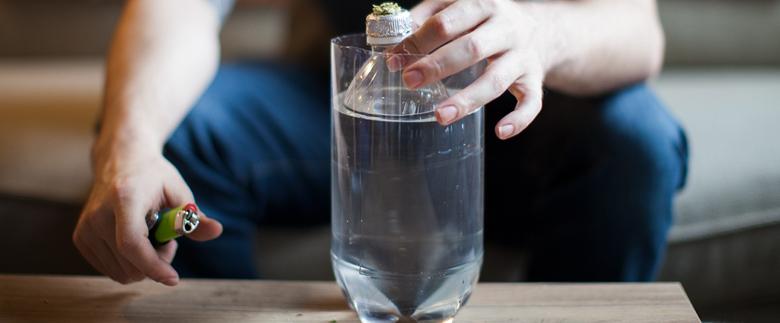
Place the smaller-sized bottle’s upper part into the water-filled bowl of the bigger bottle. Screw the flower-filled bottle cap carefully on the smaller bottle.
Step 8:
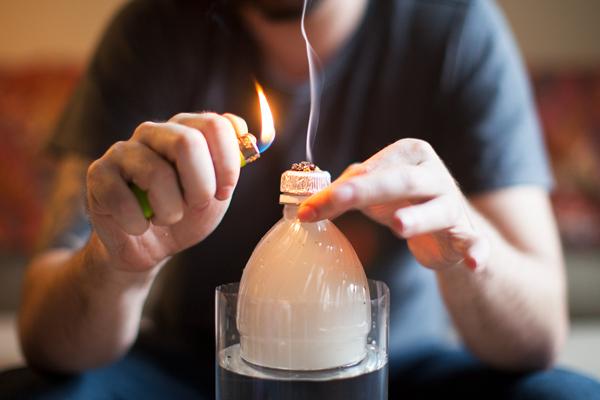
Hold the bottle down and light it up. The white smoke will be formed in the bottle. Don’t take it out of the water. Now slowly unscrew the cap and get ready to take all of the ecstatic smoke in.
Frequently Asked Questions (FAQs)
1. Is a Gravity Bong better?
Answer: It is better if you want to get super high.
2. How much is it for a gravity bong?
Answer: Free. If you've read our guide on how to make a gravity bong then you’ll know.
3. How does a gravity bong work?
Answer: We have discussed this in detail above.
4. Why do bongs hit harder than blunts?
Answer: Because the bowl is bigger than the blunt. Our lungs get the fill directly from it.
5. Does gravity bong make you higher?
Answer: Resounding yes! Much higher than any other tool.
So, that’s it today. I hope you all are gathering your supplies now. Do share your experience of it and let us know how good your first gravity bong looked.
We will see you next time but before that remember to breathe in, hold it, puff out, and grin.
Look out this space for more and keep toking with Olivastu!


![[Updated] Old-School Bong: How to Make A Water Bottle Bong?](https://www.olivastu.com/media/magefan_blog/bottle-featured.jpg)
