We use cookies to make your experience better. To comply with the new e-Privacy directive, we need to ask for your consent to set the cookies. Learn more.
How to Make Cannabis E-Liquid: Step-by-Step Guide
Step-by-Step Guide: Crafting Your Own Cannabis E-Liquid
Let’s just put it out first: vaping is all the rave because it’s the new smoking. Don’t get me wrong; some kush lovers will always smoke up the beautiful green herbs. However, others are quickly shifting to the liquid counterpart, as smoking e-juice means getting high without the tar, carcinogens, or carbon monoxide involved. The result? A clean cannabinoid hit that’s safer, more potent, and fun enough to get your taste buds tingling instantly.
Given vaping’s meteoric rise, countless ganjaficionados have been asking how to make cannabis e-liquid themselves. And why not; after all, retail e-juices can often be of cheap quality, and more importantly, severely toxic for your health.
If you’re one of such ganjaheads, wondering how you can cook up some spicy e-liquid yourself, keep reading. In this blog, we’ll take you through every step required to make your own e-juice. Along the way, we’ll also discuss common doubts like how long does an e-liquid last, what’s in e-liquids, and more. Let’s get started!
What’s in an E-liquid?
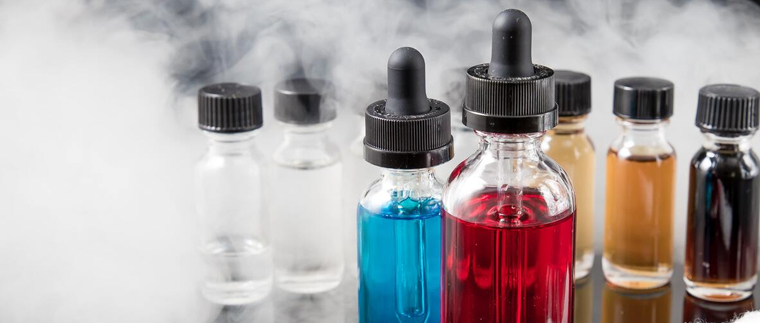
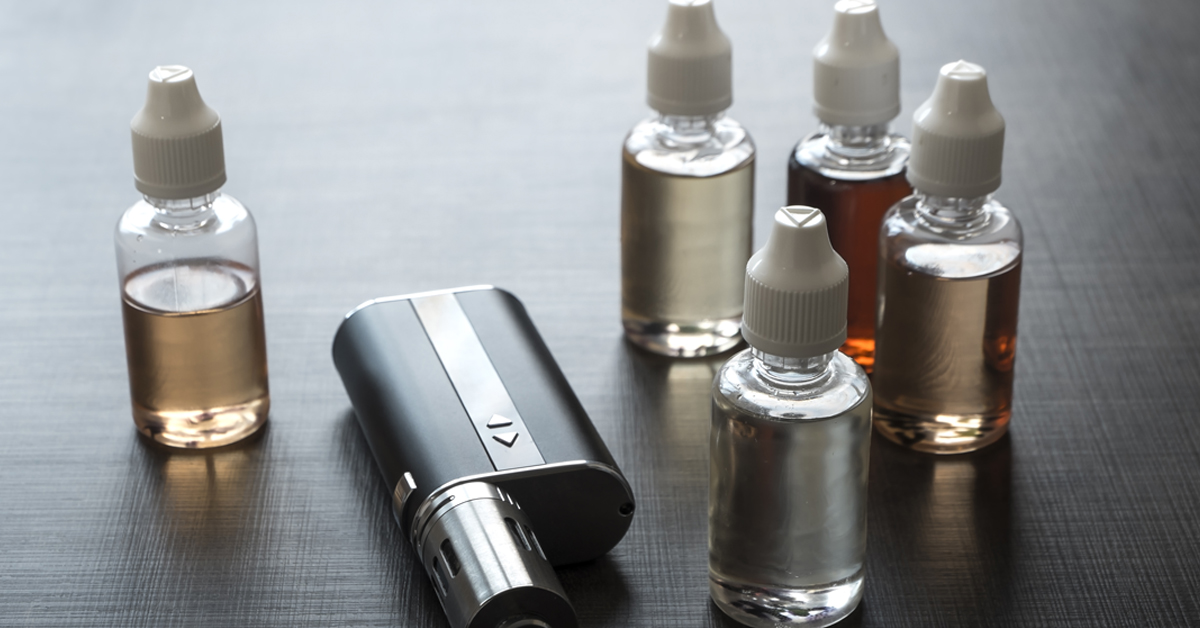
Before you get your Walter White on and stir up pot juice yourself, you must first know what the liquid includes. Traditionally, e-liquids are nicotine-containing products, but that’s far from it is today. Cannabis users implement their own spin on these juices, mixing and matching flavours and even making nicotine-free vape liquids.
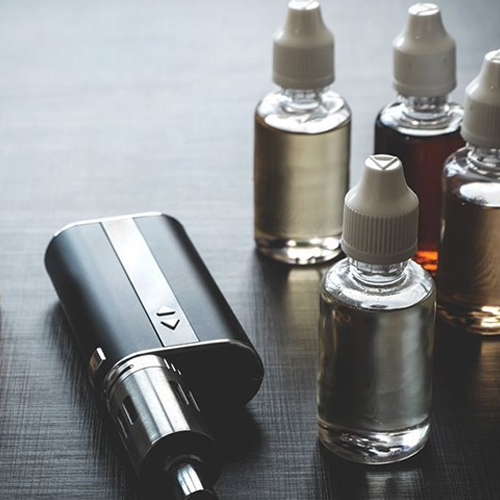
You can find both THC and CBD e-liquids with their accompanying terpenes, but the key ingredients are VG (vegetable glycerin) and PG (propylene glycol), which form the liquid’s base. Other than these, artificial and natural food-grade flavourings are used to create a plethora of flavours to satiate your taste - anything from fruits and mints to candy, and more.
Coming to nicotine, this is purely optional. As said before, you can opt to make a nicotine-free e-juice. Or, you can make one with nicotine, but you must know the exact quantity to use. Simply put, 1% of the e-liquid’s entire contents will be nicotine. So, a 10ml bottle should typically contain around 1.0% or 10mg/ml of nicotine. If you were wondering how much nicotine in e-liquids is normal, here’s your answer.
Why Make E-liquids Yourself?
The main question is, why not? If you’re a true cannabis connoisseur, I’m sure you’ve already tried your hands at cooking edibles. Similarly, learning to create e-liquids yourself is an endeavour you won’t regret.
Apart from giving you the satisfaction of mixing flavours to create a customized liquid, making it yourself also offers a certain peace of mind. Store-bought vape juices can very easily be contaminated like how cannabis buds can be laden with toxic pesticides. If you make the liquid yourself, you’ll know exactly what is entering your lungs. Plus, if you buy what you need, you can make batches and save yourself from the hassle of figuring out where to buy e-liquids in stores. You’ll save quite a few pounds too!
[Also Read: A Guide on Cannabis Edibles and How to Make Them at Home?]
A Detailed Guide on How to Make Cannabis E-liquid
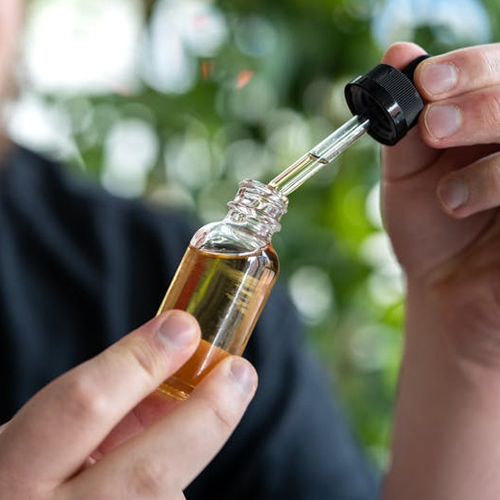
Ready to have some fun? Now that you know about e-liquids and why to make them yourself, it’s time to dive into the nitty-gritty.
In basic terms, the whole process involves mixing the primary elements that create the e-juice: VG and PG base liquid, flavour concentrates, and nicotine. Take the third element out, and you’ll have your answer to how to make e-cig liquid without nicotine.
It’s typical of all things cannabis to not have a universal answer. Just like that, there are various ways to create your e-juice. However, if you’re a DIY first-timer and want to know how to make THC e-liquid easily, here are three of the simplest methods: -
1. Rosin extraction
By nature, rosin is a very low-risk extract. Hence, using it to create your vape juice is probably the quickest and cleanest method, especially since it involves no harsh chemicals or solvents. All you have to do is apply a bit of pressure and heat to extract the resin. Alternatively, you can also press rosin from BHO wax and other concentrates, or even make rosin from resinous flowers’ buds.
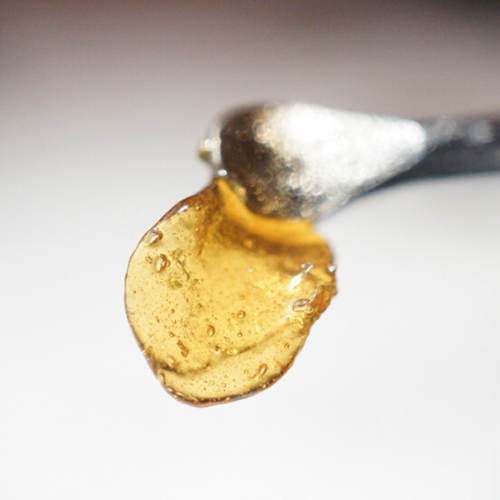
Before starting off, keep these handy:-
- Hair straightener
- Dried cannabis floers
- Small glass vials
- Parchment papers
- Syringe
- Toothpicks
- Terpenes or natural flavouring
- Lighter
Step one
Pick a few plump buds from your stash. Sandwich them in your parchment paper, and switch on your straightener. Set it to a temperature of approximately 121℃ or 249℉.
Step two
Put your wrapped buds between the straightener’s irons and apply heavy pressure. Keep doing this as the flowers start oozing resin. Once it stops flowing, let go of the irons. Unwrap the parchment paper and you’ll be welcomed by a fresh rosin patch. Keep repeating this until you’ve got at least 0.5g of the rosin.
Step three
Put the rosin-covered paper into your fridge for about 20 minutes. Next, remove the cooled treasure and use a sturdy toothpick to scrape off the rosin, and place it in a glass vial. Add a couple of drops of your terpene or flavouring of choice.
Step four
Now, you’ll have to mix your flavouring and rosin into an oil, which will need you to flash heat the vial. Don’t worry, it’s not as tough as it sounds. Simply hold a flame under the vial for five or six seconds, until the solution starts bubbling. Remember to remove from the flame as soon as the bubbling occurs and use a toothpick to give it a nice mix. Finally, draw the liquid into your syringe and inject it into a vape pen’s cartridge. Bam! You’re ready to smoke the beautiful juice you just made with your own hands.
2. VG (short-term)
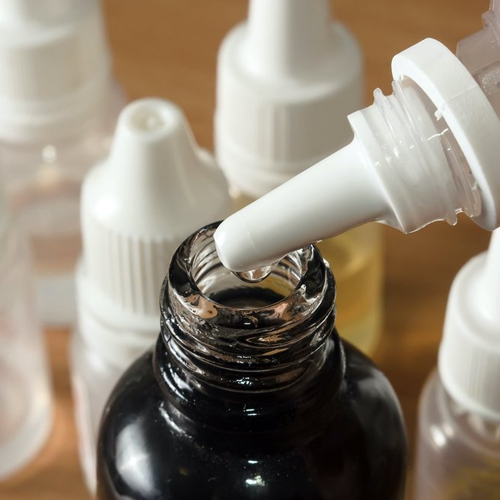
As the name indicates, this method is a quick process for those requiring an instant supply of e-liquid. You simply have to break up the greeny buds, mix them with VG, and heat up the whole thing. Here’s what you’ll need for this: -
- Food-grade VG
- Raw cannabis flowers
- Vegetable oil
- Large and small Pyrex dish
- Stove
- Two glass jars
- Two thermometers
- Cheesecloth
- Sieve
- Metal spoon
- Rubber spatula
Step one
Strap in. Start tearing up the flowers and place the smaller bits into your small Pyrex dish. Pour a little bit of VG into this dish and start stirring. Continue adding a little VG until the herb bits are saturated. Keep an eye out to prevent the mixture from becoming too thin.
Step two
Pour vegetable oil into your large Pyrex dish, enough to submerge the small dish’s bottom inch. Place the oil-filled dish over a hot plate or on the stove, and put a thermometer inside. Heat it up to around 104℃ or 219℉.
Step three
Put the smaller dish into the heated oil bath. Place another thermometer into the buds and VG mixture. The target here is to get the solution hot enough (approximately 82℃ or 179.6℉), allowing the buds and VG to diffuse. Maintain this temperature for approximately 45 minutes and keep stirring the mixture frequently.
Step four
Remove the smaller dish and let it cool for some time. Next, put the sieve over your glass jar and strain the mixture. For this, use your spatula and press the buds against the sieve, extracting as much of the liquid bounty as you can.
To get as much THC as possible, repeat steps two and three twice. Do use fresh VG for each time.
Step five
After collecting three runs in your glass jar, you must purify the vape e-liquid. First, clean and dry the sieve. Next, put it over your clean glass jar and add about four cheesecloth layers. Pour the vape liquid onto it and let it filter into your jar. Again, use your spatula to extract any residue left behind.
Step six
Take this purified liquid and pour it into the small Pyrex dish. Heat up your oil bath and place this smaller dish inside. Place the thermometer and heat the e-juice to precisely 104℃ or 219℉, for half an hour.
Step seven
Voila! Your e-liquid is ready to get you blazed right away. Use your syringe to pour this liquid into your e-pen cartridge and enjoy a potent hit like never before.
3. VG (long-term)
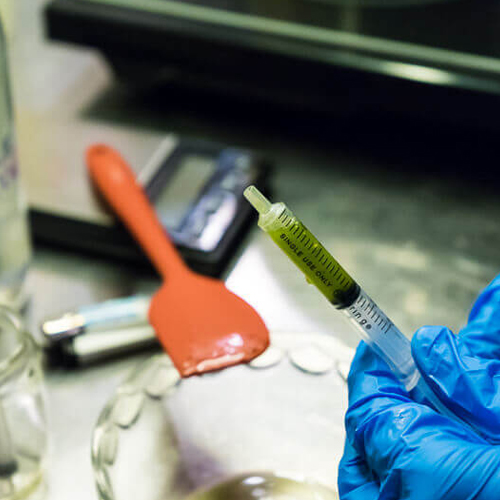
This is exclusively for patient Mary Jane lovers. It’s simple, and if you’re one, try this method. Instead of using high temperatures, this process uses the beauty of time to let the tasteful buds diffuse into the mixture. Gather these first: -
- Aluminium foil
- Cannabis buds
- Heat-safe Pyrex bowl
- Baking tray
- Food-grade VG
- Oven
- Two mason jars
- Sieve
- Metal spoons
- Cheesecloth
- Rubber spatula
- Freezer
Step one
Break up the hash into small chunks; use a scissor if you’d like. Don’t grind them.
Step two
Line aluminium foil across your baking tray and spread the broken up weed evenly. Preheat your oven to exactly 121℃ or 250℉ and place the buds inside for 30 minutes. Let them decarboxylate during that time and remove them. Let the buds cool.
Step three
Take a mason jar and place the buds in them. Add a little bit of VG and start stirring. Keep adding it until the mixture turns thick and clumpy, and stop before it thins. Put the jar’s lid on, write down the date, and store for a month. Yes, it will take time, as the method’s name itself suggests.
Step four
After a month, remove the lid. Stir the mixture nicely, add a tablespoon of the VG, and stir again. Put it back into the freezer for another month. Repeat this whole procedure again after a month.
Step five
Towards the end of the third month, take out the mixture, stir it, and strain it through your sieve, into the second mason jar. Clean the original jar and sieve, and line the latter with four cheesecloth layers. Next, strain the juice back into your original jar and extract any residue using your spatula. That’s it!
Step six
Take your syringe, add the freshly made vape liquid into your e-pen, and enjoy. You’re welcome.
Before We Go
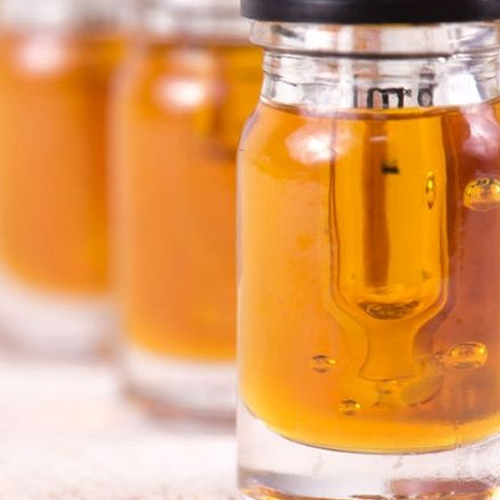
So, that’s the comprehensive guide on how to make cannabis e-liquids. Before we conclude this blog, here’s a couple of pointers to keep in mind:-
- E-liquid longevity - If you’re wondering how long does e-liquid last, there’s no hard-and-fast answer. Since they lack FDA and BMA accreditation, vape liquids have no expiry date. However, based on the general consensus and nicotine content, they can last for anywhere between one to two years. So, if you cook some up, you’ll be set for amazing vaping sessions for quite a while.
- E-liquid prices - Want to know how much does e-liquid cost? If you’re purchasing it, it’ll be somewhere around £1-5 for 10 ml e-liquid, £8-12 for 50ml, and £13-16 for 100ml.
- E-liquid potency - “Does cannabis e-liquid get you high?” is what many Skunk juice first-timers ask about. This majorly depends on whether you’re an avid smoker, the extraction quality, and other processes used to infuse and make the liquid. However, e-liquids usually contain 90% or more of the psychoactive cannabinoids, and hence, do get you high.
That’s it for now. For more on such guides, keep following this space, and toke your way with Olivastu!
[Also Read: 17 Best E-liquid Flavour in the UK - The Complete List]
FAQs
1. Is it cheaper to make your own e-juice?
Answer: Why, yes! These DIY projects have amassed such popularity, mainly because they’re the cheaper alternative to purchasing retail e-liquids. Find the right ingredients and it’ll cost you around £0.04/ml.
2. Is it legal to make your own vape juice?
Answer: Yes. The ingredients you’ll need to make your own e-liquid aren’t illegal.
3. How do you make vape juice without nicotine?
Answer: As mentioned before, you can use the same process, just without the nicotine. Instead, you’ll need to pick a nicotine-free base in your preferred ratio and add the flavouring to make the liquid.


