We use cookies to make your experience better. To comply with the new e-Privacy directive, we need to ask for your consent to set the cookies. Learn more.
How To Make E-liquid at Home: Step By Step Guide
You must have heard about e-cigarettes even if you’ve not used one. Electronic cigarettes is around for more than a decade now, But why does one choose a fancy e-cig over the traditional cigarettes? Because they are less harmful and do not use tobacco. The act of smoking remains the same but the tobacco gets replaced by a heating liquid known as e-liquid.
E-liquid is known by several different names like vape juice, e-juice, and more. It is a nicotine solution, that works as a flavour agent in e-cigs. The vapours produced by these cigs are created by heating the e-liquid to make the aerosol. This replaces the traditional cigarette that burns the tobacco instead.
But the issue comes when you spend too much money on vape juices. So, why not make your own? In this article, we will give you a quick crash course on how to make your own e liquid. We will also answer some other important queries like the meaning, benefits, and what's in e liquid.
What's in E liquid?
If you’re new to vape juices or even if you’re a pro-smoker but don’t know much about it, we will try to answer everything. So, when talking about what's in e liquid, then let me tell you that there are 4 major ingredients to it. This includes the no-brainers like water and nicotine. Apart from that other things include flavourings, PG, and/or VG base (Propylene Glycol or Vegetable Glycerin).
- Nicotine: Even though nicotine content differs with the products, it is an important ingredient. It is an addictive ingredient that is present in both styles of cigs, regular and electronic.
- Flavouring: When it comes to flavouring, you have thousands of options. From fresh apples, butter to berry and coconut, vape juices come in many flavours. It will never be boring.
- Glycerine: Found in many products, glycerine is an odourless liquid that has a sweet taste to it. Totally harmless and approved internationally by various organisations, glycerine is a must.
- Propylene Glycol (PG): Propylene Glycol is an artificially lab-made liquid that is safely approved for use in food and cosmetic products. It helps in creating artificial smoke for the cigarette to feel authentic.
| Also Read: Best E-Liquid - The Top 20 E-Liquids You Must Try Once |
What Shouldn’t be in E Liquid
I just listed the ingredients that are essential in making vape juice, now we are going to list things that you should avoid while making homemade e liquid. So when we talk about what's in e liquid, below are the things that shouldn’t be there.
- Essential Oils: Very dangerous. Essential or any kinds of oil cannot be used in e-cigs. Beware!
- High Nicotine Content: Whenever you’re DIYing any kind of vape juice, try to control the amount of nicotine content that you’re using. You don’t want that much nicotine in your system.
- Random Flavouring: You must have noticed that many kinds of flavourings are available in the market. That doesn’t mean that all are suitable for inhalation. Make sure that you’re not picking any cooking or unsuitable flavours for your vape juice.
Benefits of E-liquid & Vape Juice
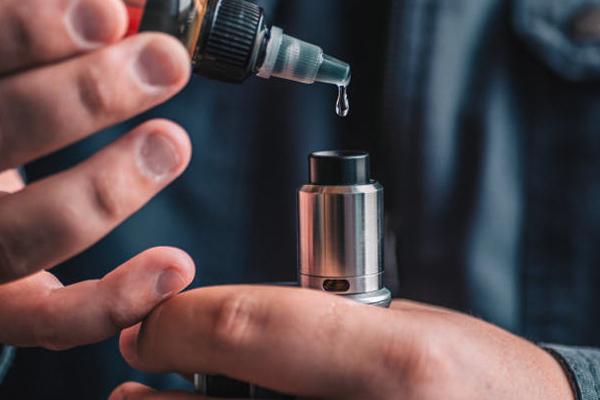
After getting the hold on things like what’s an e liquid, what's in e liquid, and what shouldn’t be in e liquid, we will dig into some core benefits in making your own e liquid.
- Save Money: E liquids are pretty expensive if you buy them regularly. The nicotine ingredient is the costliest. So controlling the content of the vape juice, you can save a lot of money.
- Controlling Addiction: If you’re looking forward to decrease your smoking addiction then start making your own juice. In this way, you can easily control the quantity of liquid that you want to prepare.
- Variety: If you’re not a stickler about any particular flavour, then you can easily play around. Become an awesome mixologist and experiment with endless flavours. Discover and combine all new flavours.
How to Make your own E liquid?
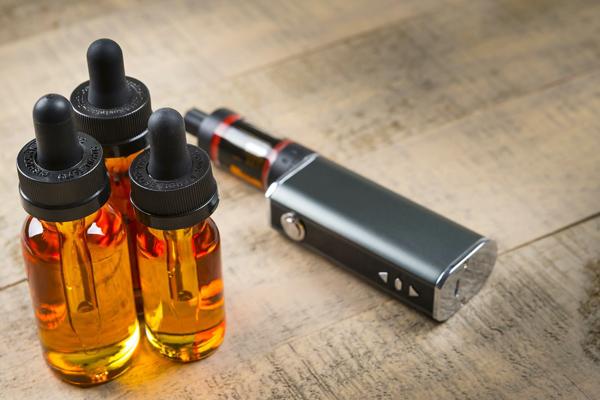
Here comes the most important part of the piece. You will get all your queries answered like how to make e cig liquid, things that would be required to do so, and some other essential questions like how to make THC e liquid or how to make cannabis e liquid, etc.
Essential Materials
Get ready to gather essential items and equipment that will be required to make both e liquid and THC e liquid.
Things that you would require to make e-cig liquid are:
- 10 ml bottles
- Syringes
- Containers for measuring
- Gloves
- Kitchen roll
- Nicotine Shots (20 mg is limit)
- PG & VG (Propylene Glycol & Vegetable Glycerin)
- Flavour Concentrate
Things that you would require to make THC e-liquid are:
- Flowers/ Buds Decarbed
- PG & VG (Propylene Glycol & Vegetable Glycerin)
- Kitchen towel/ Cheesecloth
- 10 ml bottles
- Rice press
- Dark container
Now, let’s get down to business.
How to Make E Cig Liquid
Now that you have everything that you require to make a fantastic vape juice, let's learn how to practically do so. We will give you quick and easy-to-follow steps to make e liquid.
Step 1: Measurement
Your first step before starting anything is to decide how much vape juice do you want to make. This would include everything, from vape juice content to the nicotine and VG/PG level, everything has to be precise. To help you with that, look out for various calculators that are available to calculate the vape juice.
| Also Read: 6 Most Common Vaping Mistakes to Avoid for Beginners |
Step 2: Base
After emulating Euclid, and measuring everything, your next step is to concoct the base mixture. Based on the calculation, you would know how much ratio of PG/VG would be used. Keep your gloves on and get on with it. Here comes the use of syringes and the measuring container. Pour the calculated amount of PG/VG into the beaker and blend them carefully.
After using the syringes, rinse them thoroughly for future use.
Step 3: Flavour
Here comes the interesting and experimental part of the process. Even though you’ve calculated all the things, here you can play around a bit. If you’re going for intense flavour then this is your time to shine.
Generally, it is recommended that at 5%, the flavour concentrate would be subtle while 20% would be the limit.
Step 4: Nicotine
Your mindfulness would be needed here the most. Keep in mind that nicotine is the most powerful substance and if miscalculated, it can ruin your make. It is very strong and can be very overwhelming. Various quantities of nic shots are available in the market, so choose carefully.
With the calculations in hand, you would know how much nicotine would be used.
Step 5: Final
Last but not the least, your final step is here. Mix the blend together in the beaker. Slowly stir it and mix it carefully. Take the fresh syringe and transfer the liquid from the beaker to the bottle and if you're using multiple bottles, mix the former blend properly to get an even consistency.
Now that you’ve bottled the liquid, shake it thoroughly. But that’s not it. The vape juice has to sleep for about 5 days. Yeah, you can use it before that but it will not have the same quality and flavour that you would expect. So, be patient!
| Also Read: How to Make Cannabis E-Liquid: Step-by-Step Guide |
How to Make THC E Liquid
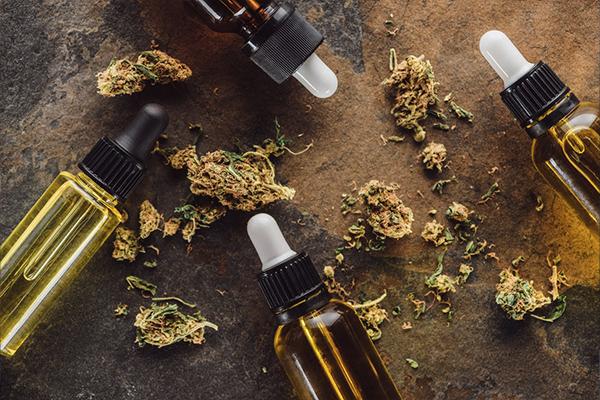
THC e-liquid is slightly different from the above. So, it is important to pay attention to the details as THC e-liquid would be used in vaporizers.
Step 1: Decarb
To decarb your flowers and buds, preheat them on the stove up to 225 ° F. Break (without stem) them evenly on a baking sheet. It has to be cooked for about 30-50 mins. After that, let your herbs cool.
Step 2: Cover
Next, transfer your cooled cannabis into the dark tight-fit container. It is to protect the herbs from sunlight damage. Now, cover the decarbed weed with a 60:40 ratio of PG and VG. Stir the mixture and cover the container in a dark place for about 3 months.
Step 3: Pressing
Before the end of three months, try to stir the mixture occasionally. If you feel that the concoction is getting dry, mix more PG and VG combo carefully. After completing three months, pour the mixture in the cheesecloth and stress directly into the container. Strech the combination in the rice press and eject the staying liquid.
Ta-da! Now you can easily become an expert mixologist. Vape juices and e liquids are always at the centre and now its homemade concoction is becoming quite a rage. We tried to answer all your burning queries and if you liked our article, comment below.
Spread our love and keep toking with Oliavstu.


