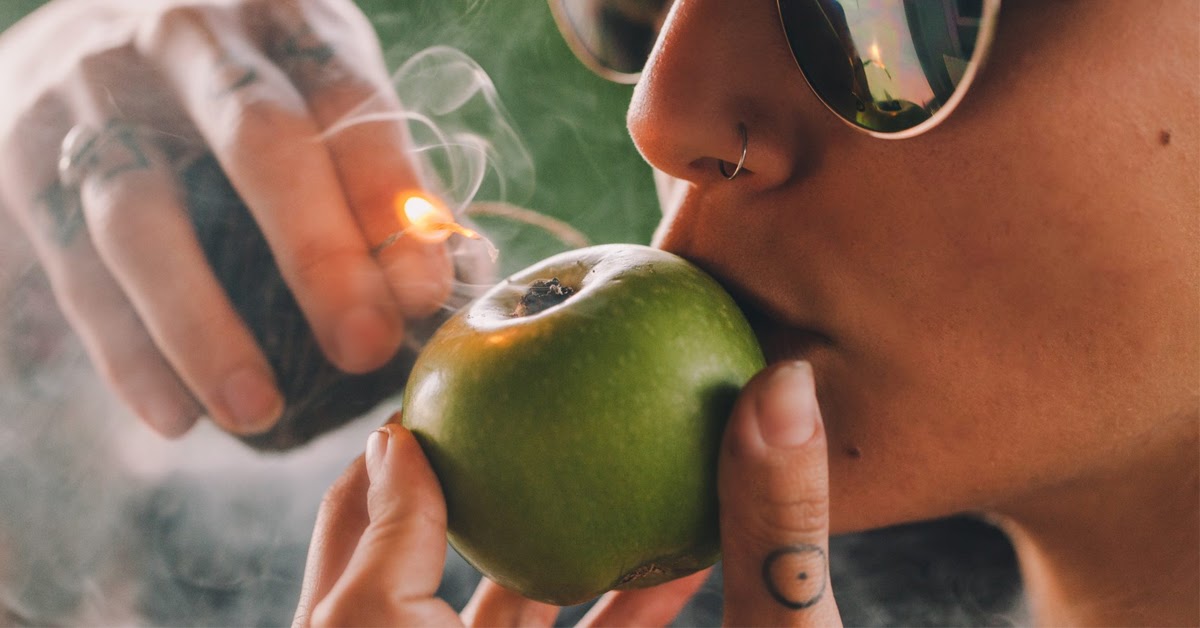
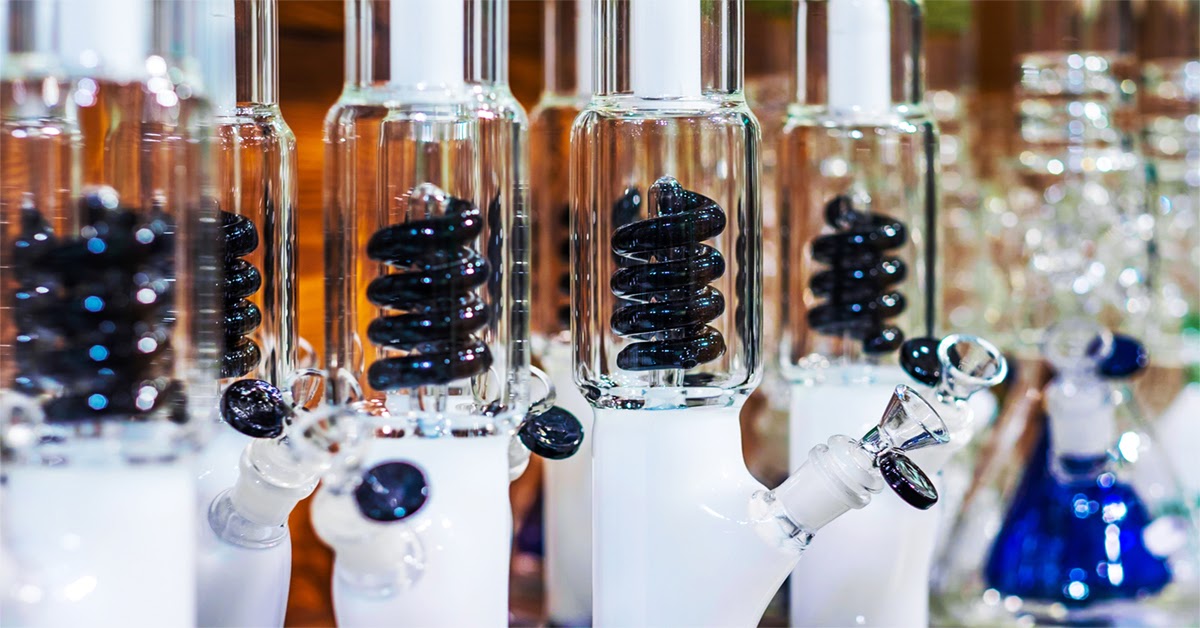
Every cannabis enthusiast comes across a moment where they have either run out of their stuff or don't have smoking equipment which can be used to consume the beautiful herbs. Whether it is because your friends ditched you at the last moment, or because you're stuck in a foreign city with just your nugs, or simply because you can't keep the smoking accessory at your home, these situations call for some creativity and improvisation. So here we are, teaching you how to make a water bottle bong.
Homemade bongs aren't a new thing! People have been finding ways to make an aesthetically pleasing and dope bong with just a few of the household items. Trust me, with DIY, your creativity is the limit. I have had friends who own a perfectly functional piece of equipment but yet indulge in this homemade stuff because it is more fun. So if you fall in any of these categories, have a look at how you can make a simple bong with everyday items.
Before we start, a word of caution for the enthusiastic tokers out there; just remember that we are using a plastic bottle to make it, and it could entail some harmful particles that can find their way into your smoke. Use this method when absolutely nothing works.
Let's get started, get the creative juices flowing! Get ready to learn how to make a bong.
What will you need to make a water bottle bong?
To make a homemade bong, here are all the things that you would need:
- A pen with a metal tip
- An empty plastic water bottle
- A lighter/ Scissors
- Ground cannabis
- Gum/Tape
How to make a water bottle bong? - Step-by-step Guide
Step 1:
The first step on how to make a bong out of a bottle is to create a downstem and bowl for your plastic bottle bong.
Now, this may seem like it's a lot, but trust me, it's the easiest way to construct a downstem. Start by taking a pen and unscrew all its pieces. Discard the ink refill and the end screw.
So now, you just have the body of the pen with its top v-shaped metal screw-on-top.

Get the idea that the body of the pen will be your downstem while the top screw will act as a bowl. Somewhat like shown in the picture.
So to complete the piece, just place the metal screw-on-top upside down, and push it into the pen's shaft just enough so that is tightly held by it.
There you have it, a simple answer to how to make a downstem!
Step 2:

Coming to the second step of how to make a water bottle bong, this one asks to attach the downstem and bowl that we made, into the bong, i.e, the water bottle.
To begin, make sure your bottle is empty. Discard the cap and drain out any water. If you're using a soda bottle, make sure none of the sticky residues is left in it.
Making a bong out of a plastic bottle is a very simple process.
Now imagine where the downstem and bowl are on a bong, and figure out space on your water bong. It is usually on the bottom of the bottle or the bottom third of it. You have the pen pipe, but to attach it to the bottle, we need to make a hole. Use a lighter and flame the bottom third of the bottle. Once the fire melts off the plastic, you can quickly insert the end of the pen inside it. Make sure the metal screw is outside the bottle, whereas the opposite end is inside.
You might be unsuccessful on your first attempt as the bottle may not have craved an accurately sized hole. You can repeat the process until you have the pen pipe securely attached. I hope some of your questions regarding how to make a bottle bong are getting answered.
Let’s move to the next step.
| Also Read: How to Make a Homemade Pipe in 10 Different Ways? |
Step 3:
You have placed the pen-pipe, and made a perfect downstem and bowl, but, you still have to secure it. The reason for this is that until the hole and the pipe is tightly secured, you can lose a lot of smoke through the small gaps and render your efforts useless.The DIY bong takes a little more work than you expected.
The best homemade water bong never has any leaks. To seal the gap, you may use glue, or duct tape to do the job. In my experience, a chewed gum works the best because it just sticks to it. (gross, but works)
Step 4:
Here comes the fourth step to making your own bong water bottle.
This step calls for filling water into your bong. I get a lot of questions about how much water to put in a bong and here’s your answer.
You have to fill it to submerge the down end of the pen pipe and not more than that. If you allow the water to reach the meeting point of the pipe and the bottle, it may loosen up the glue.
Step 5:
If you would like to pierce a carb, you can do that using a scissor or a lighter. Make sure you do this on the opposite side from the downstem. It should be a small hole, don't pierce the scissors too hard into it.

Step 6:
There you have it, the last step of how to make an easy water bong.
Now pack the bowl (Pen metal screw-on) with your herbs, light it, and use the water bottle mouth as the bong mouthpiece. Inhale and have an awesome DIY smoking session.
This brings us to the end of how to make a water bottle bong article. If you tried this, let us know your experience in the comment below.
Till then, keep toking with Olivastu!


![[Updated] Old-School Bong: How to Make A Water Bottle Bong?](https://www.olivastu.com/media/magefan_blog/Banner_2_.jpg)


